When working on landscape images I always try to get everythin in the can, when I am in the field. However you cannot get everything in right in the field, but you can get quite close. I still need to remove dust, and correct colors sine I am shooting in RAW format, the colors can appear quite flat. Hence the lightroom workflow can be quite a fight, but no more.
For this process I have for a long time been using Adobe Lightroom. Very recently I was contacted by the Company SleekLens who have produced a rather large set of presets and brushes for Lightroom in order to help photographers speed up their lightroom workflow. Here is what I did in order to put the brushes and presets to the test.
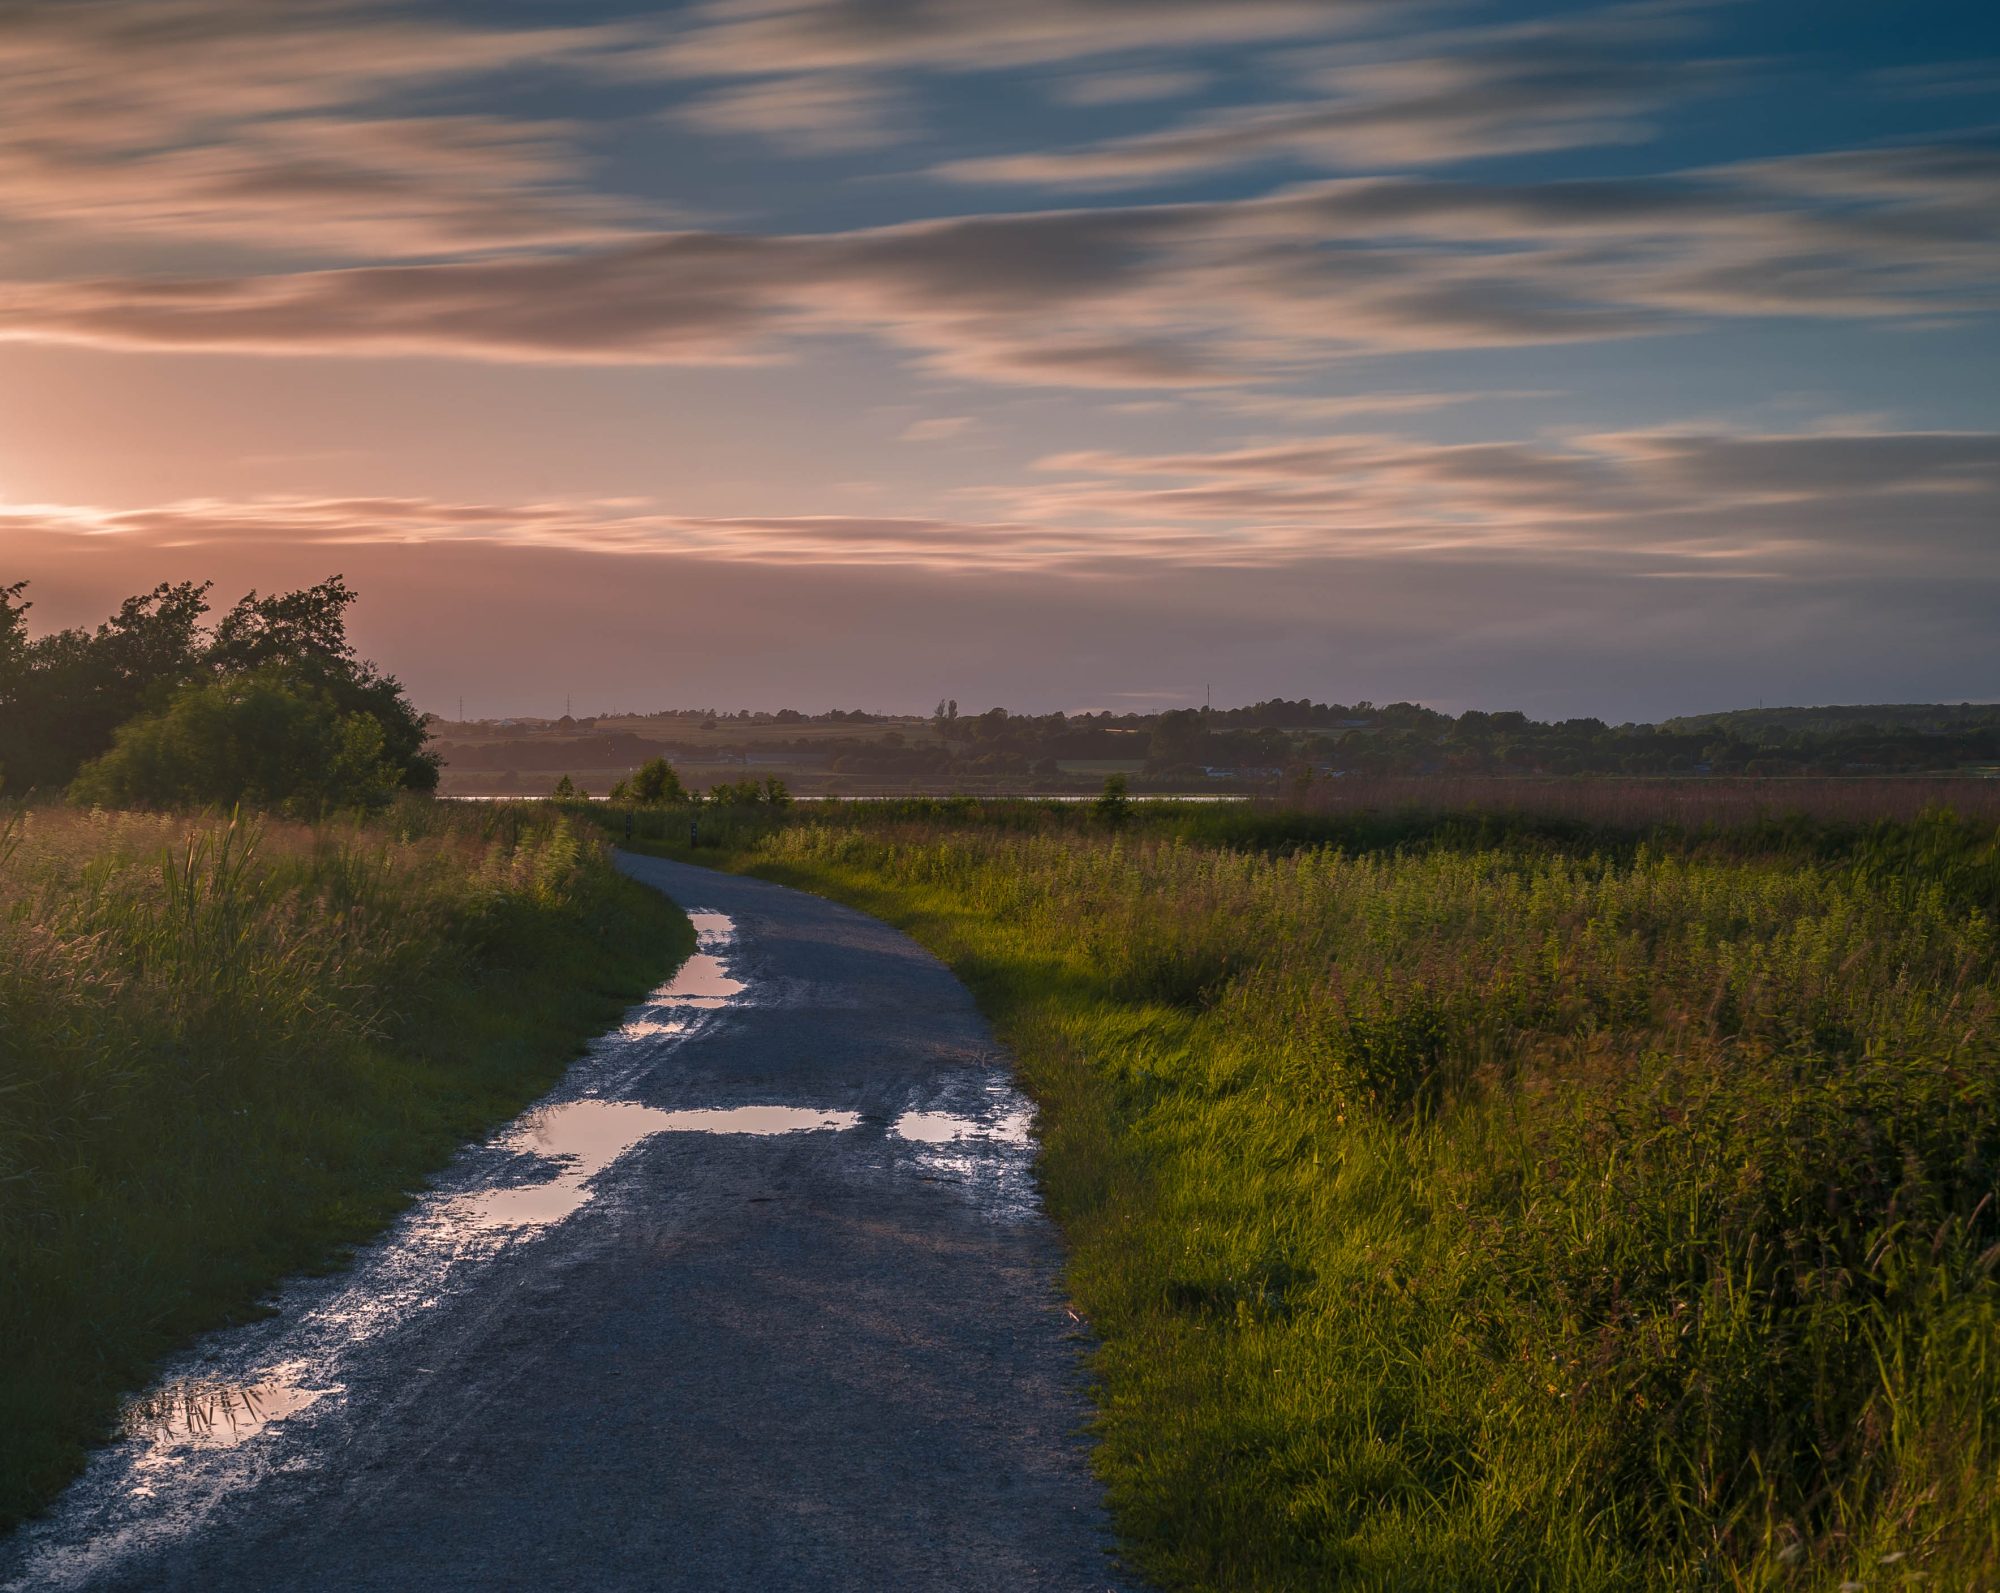
In order to cunduct a through test of the brushes I went to a nearby lake about an hour before sunset, and took a series of landscape Photos. Be aware that all of the images are unprocessed jpg’s from RAW, hence we will see if the Sleek Lens brushes and presets are up for the test. I am going to break the review up into different segments.
- What comes with the bundle
- Installation
- workflow
- final images
- Pros and cons
I have been testing the preset and brushes set called “Through the Woods workflow” which you can find at SleekLens.com simply by clicking here


1. What comes with the bundle
Having downloaded and unzipped the bundle I found two folders one containing the presets and one containing the brushes. Besides that there were four pdf-files, an installation file, a terms of use-file, a README before installing file and the most interessting a recipe file. The recipe file offers inspiration on how to apply the different presets in different situations. The folders in this bundle contained 30 brushes and 51 presets.
2. installation of the software.
Installing brushes and presets in Lightroom is easy. The supplied pdf-file explain very vell how to install the different brushes and presets. If you cannot figure it out Sleek Lens provide good video tutorial where you’ll be talked through the installation, step by step.
An example of these videos could be.
Once you have your brushes and presets installed you will be ready to dive right into lightroom and speed up your workflow.
You can finde even more video tutorials at Sleeklens.com
3. Lightroom workflow.
The main question here is
Why do I need to use presets?
Truth is – you don’t! However if you want to speed up your work, lightroom presets will help you to achive effects that you are looking for quite fast.
Getting the right result from your images in Lightroom can be a very time consuming process. but when usin presets that is not the case. No matter if you use the presets from Sleek Lens or you prefer to create your own, you will start loving your self for working with presets. The advantage of getting the nice presets from Sleek Lens is that someone has created a set of well structured presets, which quickly can be applied to an image to achive various different images. Below is an example of the presets added to one of the images I quite like the result eventhough the highligts are a bit too golden.
[bais_before_after before_image=”https://i2.wp.com/blog.thomasamby.dk/wp-content/uploads/2017/06/SleekLens-RAW-7.jpg” after_image=”https://i1.wp.com/blog.thomasamby.dk/wp-content/uploads/2017/06/SleekLens-Edited-7.jpg”]
It took me five minutes to produce the edited image on the right. I even got so excited that I decided to try and produce a different result based on the same image. Inspired by the recipe file provided by Sleek Lens. The result can be seen below. Based on the time I usually spend editing my images compared to the time I used to edit this image, I must conclude that my Lightroom Workflow, is by far faster than ever.
[bais_before_after before_image=”https://i1.wp.com/blog.thomasamby.dk/wp-content/uploads/2017/06/SleekLens-Edited-7.jpg” after_image=”https://i0.wp.com/blog.thomasamby.dk/wp-content/uploads/2017/06/SleekLens-Edited2.jpg”]
One of the advantages is that you can stac multiple presets on top of one another, in order to create different effects, and different end results as seen in the image above.
3.1 Structure of the presets
The presets are divided into sections, the first is called 0 – All in one, the point here is that I fixes everything and provide you with a somewhat finished look. Having said that I can still be combined with severa of the others in order to speed up your lightroom workflow. The second Group is called 1 – Base, here you will have presets to adjust things such as dynamic range, do auto tone, auto color etc. The third Group is called 2 – Exposure, and it deals with issues regarding the image exposure, such as brightening and darkening of highlights and shadows. The forth Group is called 3 – Color correct, and deals with the colurs in the images, to be honest I havent really used these presets in this Group. Then we have a Group called 4 – Tone/Tint, which can be used for things like making the image either warmer or cooler, and to making the colors pop a bit more, Group six is called 5 – Pollish, and is used for the last bit of rounding your image of, by introducing clarity, and sharpening as well as contrast. The final Group is called 6 – Vignette Again presets which I have not been using since they do not line up with my photos. All in all these presets are easy to use wether you are new to Lightroom workflow or you are experienced.
4. The final images.
Now that we have gone through the basics of the presets and brushes. We need to have a look at the images one which I have used the brushes and presets. The images are displayed in the gallery below, and they are ordered in the same way as the first gallery, for comparison.


5. Pros and Cons
All in all the Through the Woods bundle is a good buy, with its low Price at $ 31. You can quickly achieve results, but the possibillity to tweak the image by adjusting the sliders remains. My conclusion is that I might continue to Work with these presets, most likely not on every image, but from time to time, especially if I cannot get the expression in the image that I was looking for, then the presets and brushes from this bundle will help me, I am sure.
If you are feeling inspired, then visit Sleek Lens at, their homepage (click here) or at pinterest